
فرامة وقطاعة يدوية 22.8* 12.5* 27.5 سم- توفر الوقت والجهد، آمنة وسهلة التنظيف، مناسبة للاستخدام خارج المنزل،ضمان سنتان

اضغط هنا للمزيد من ماركة DPT
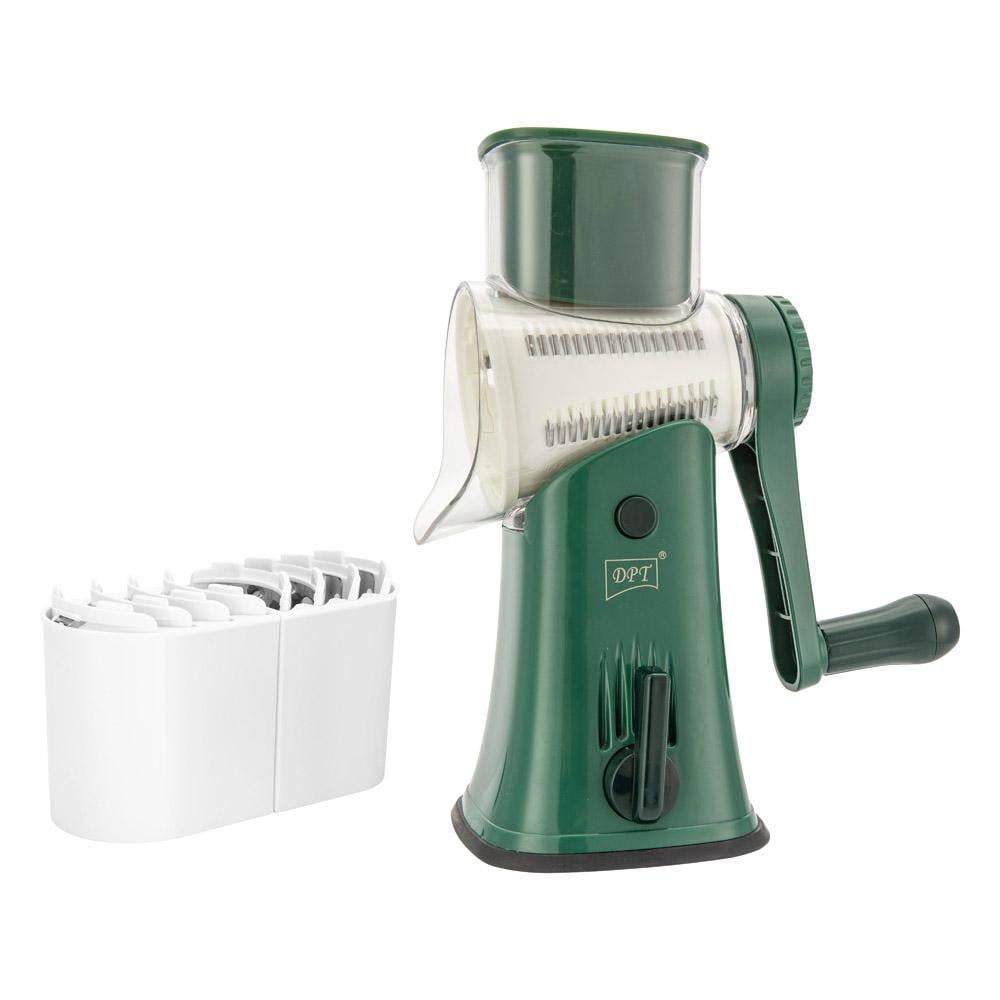
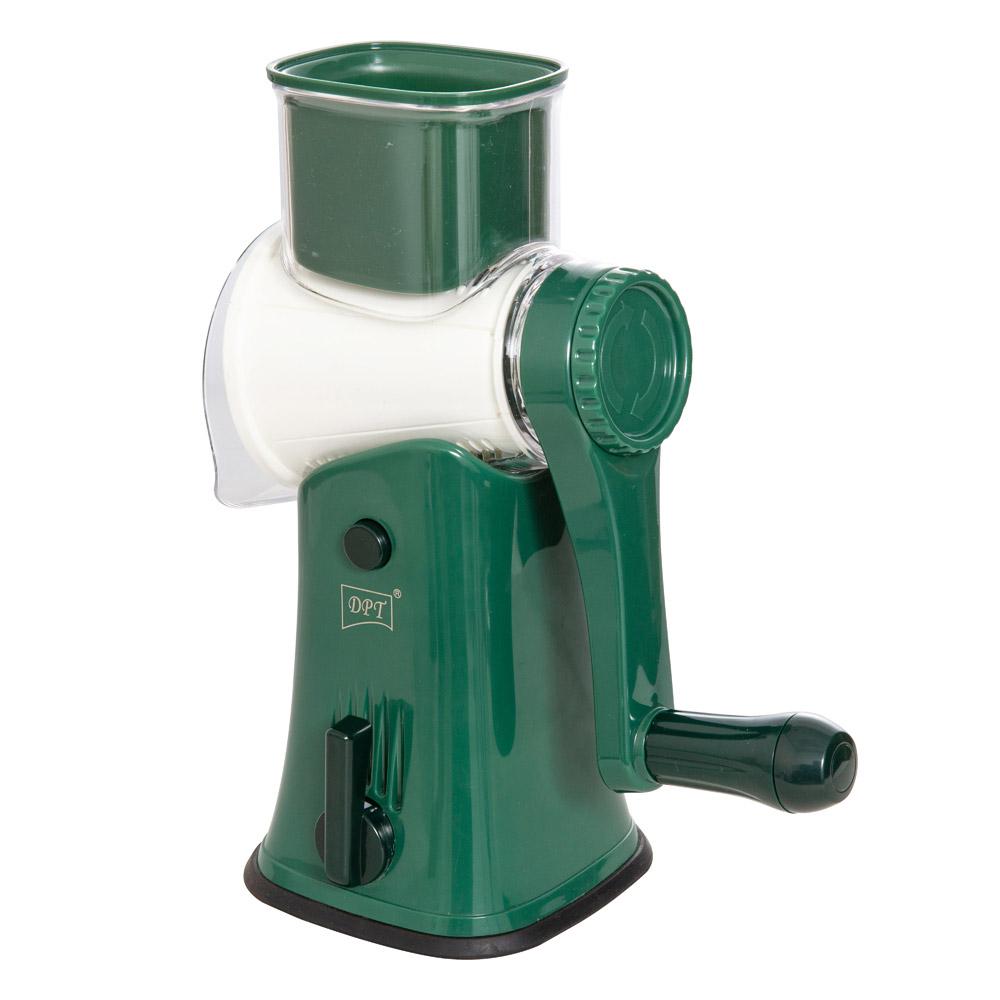
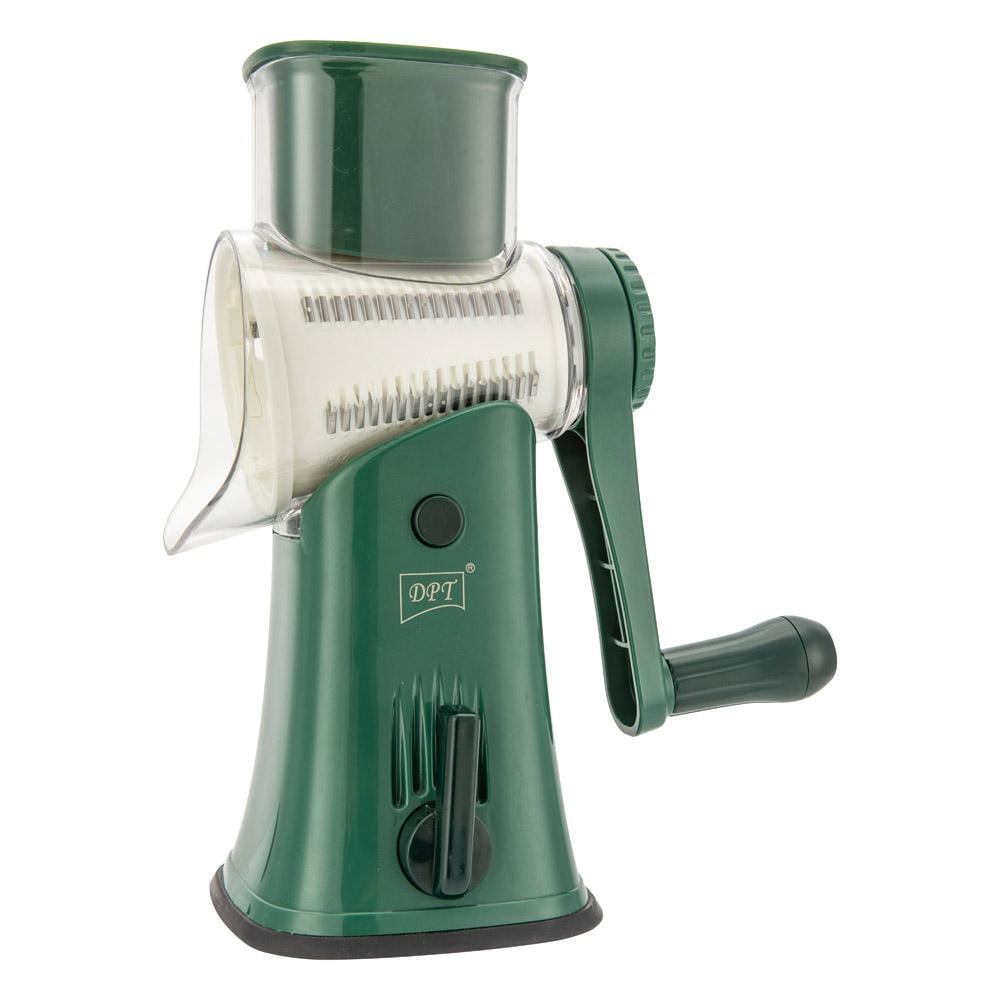
فرامة وقطاعة يدوية للخضروات والفواكه مع 5 شفرات
أداة متعددة الاستخدامات لتقطيع وفرم الخضروات والفواكه بسهولة وأمان دون الحاجة للكهرباء.
المواصفات:
الموديل: DPHW-0111G
الأبعاد: 22.8 × 12.5 × 27.5 سم
الوزن الصافي: 1.05 كجم
اللون: أخضر
المميزات:
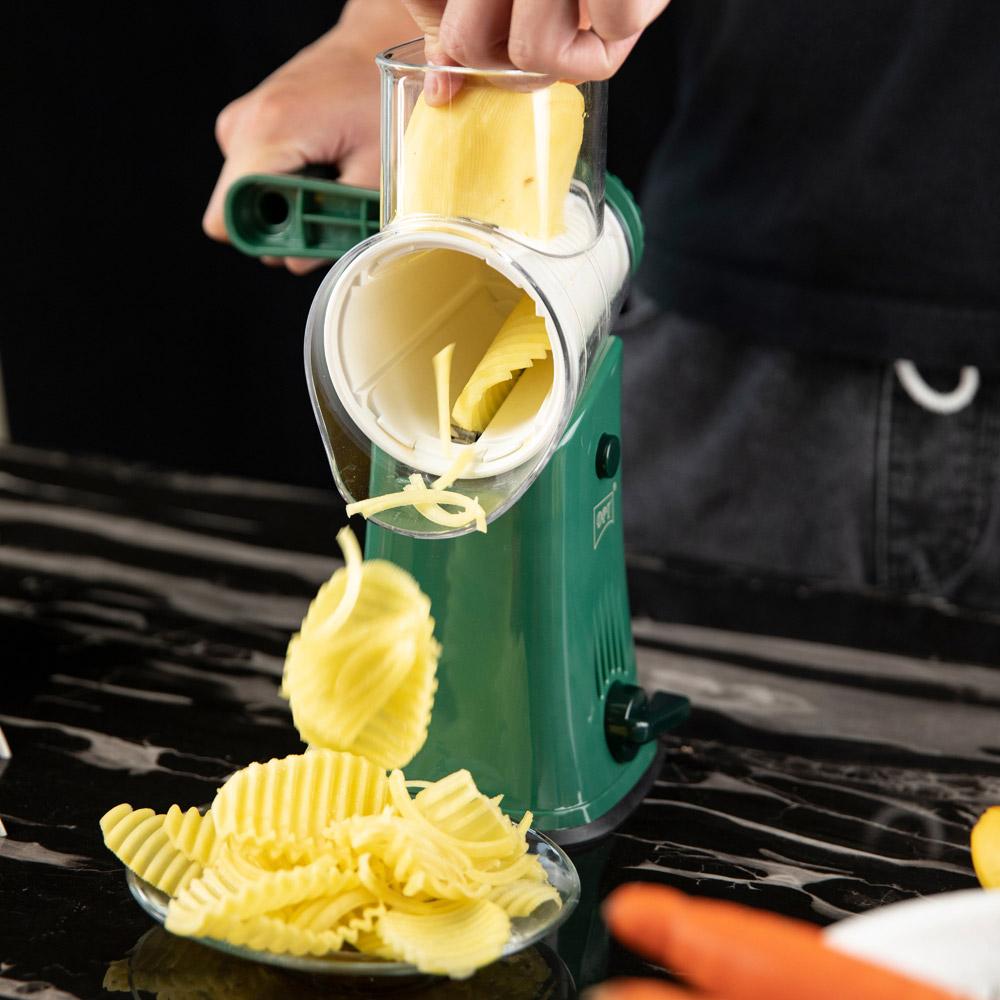
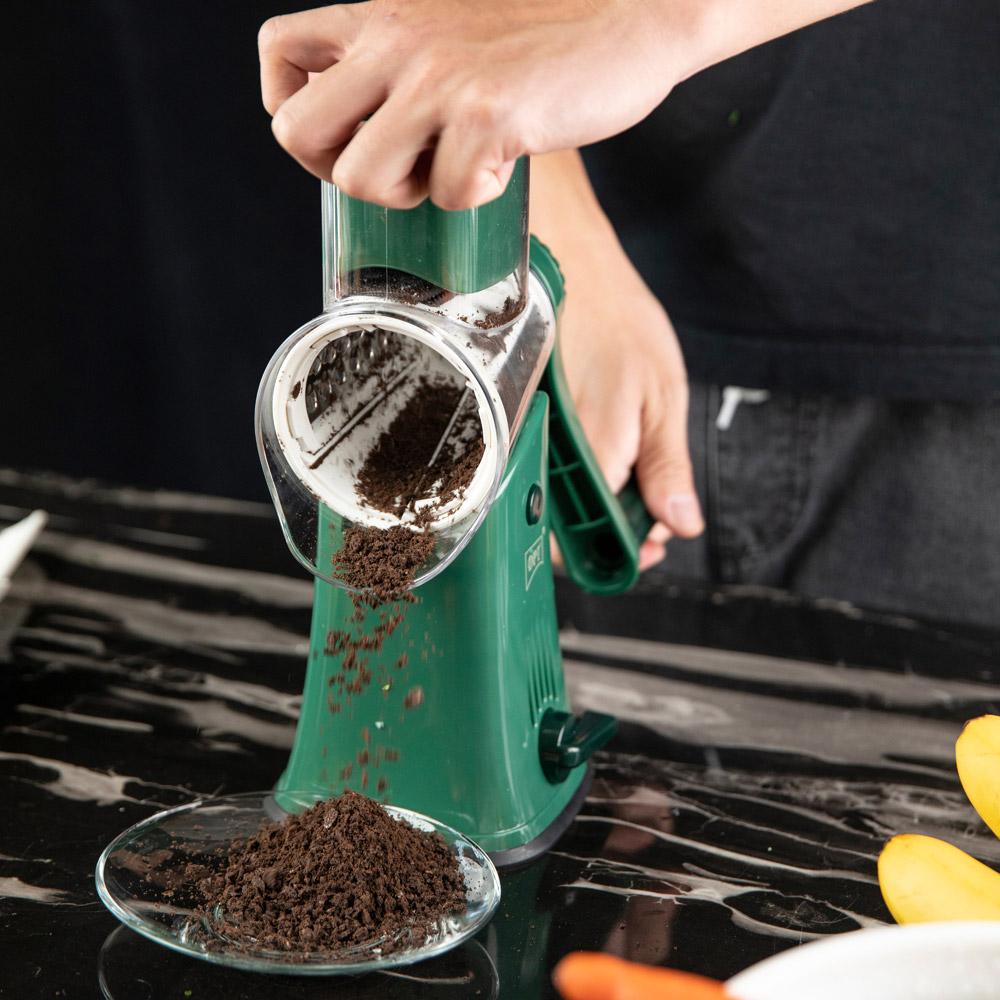
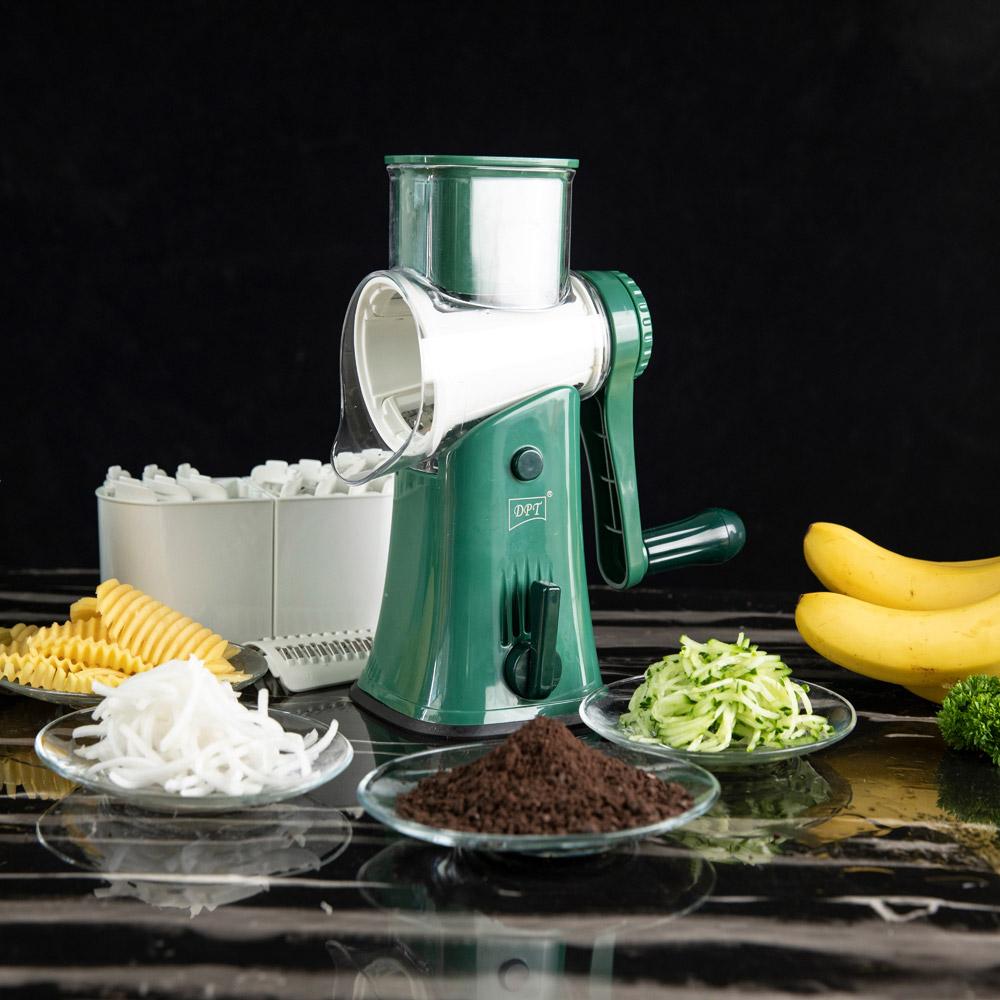
تحتوي على 5 شفرات متنوعة: شفرة تقطيع خشن، شفرة تقطيع دقيقة، شفرة تقطيع مموجة، شفرة تقطيع حلقات، شفرة فرم.
كفاءة عالية مع شفرات 360 درجة تضمن تقطيعًا مستمرًا، حيث يعادل اهتزاز دائرة واحدة 12 مرة تقطيع.
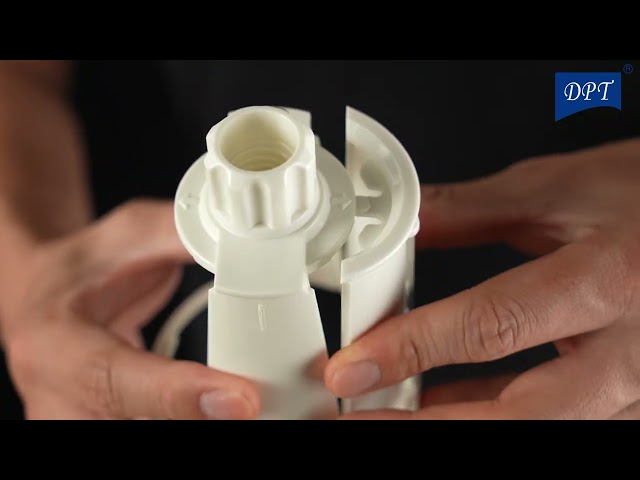
سهلة التنظيف، فقط اغسلها تحت الماء الجاري.
آمنة تمامًا للاستخدام، لا تحتاج إلى كهرباء ولا إلى لمس الشفرات باليد.
ملاحظة:
إذا تعرضت الفرامة لتصبغات من مكونات قوية مثل الجزر، يُنصح بوضع كمية صغيرة من زيت الطهي على السطح ومسحها بمنشفة ورقية لإزالة البقع.
الاستخدامات:
تقطيع وفرم الخضروات والفواكه بأنواع مختلفة وبسرعة عالية.
تحضير مكونات السلطة، الشوربات، والوجبات المختلفة بسهولة ودقة.
مثالية للاستخدام المنزلي اليومي.
مناسبة للرحلات والتخييم حيث لا تعتمد على الكهرباء، مما يجعلها مثالية للاستخدام في الهواء الطلق.
توفير الوقت والجهد مقارنة بالتقطيع اليدوي التقليدي.