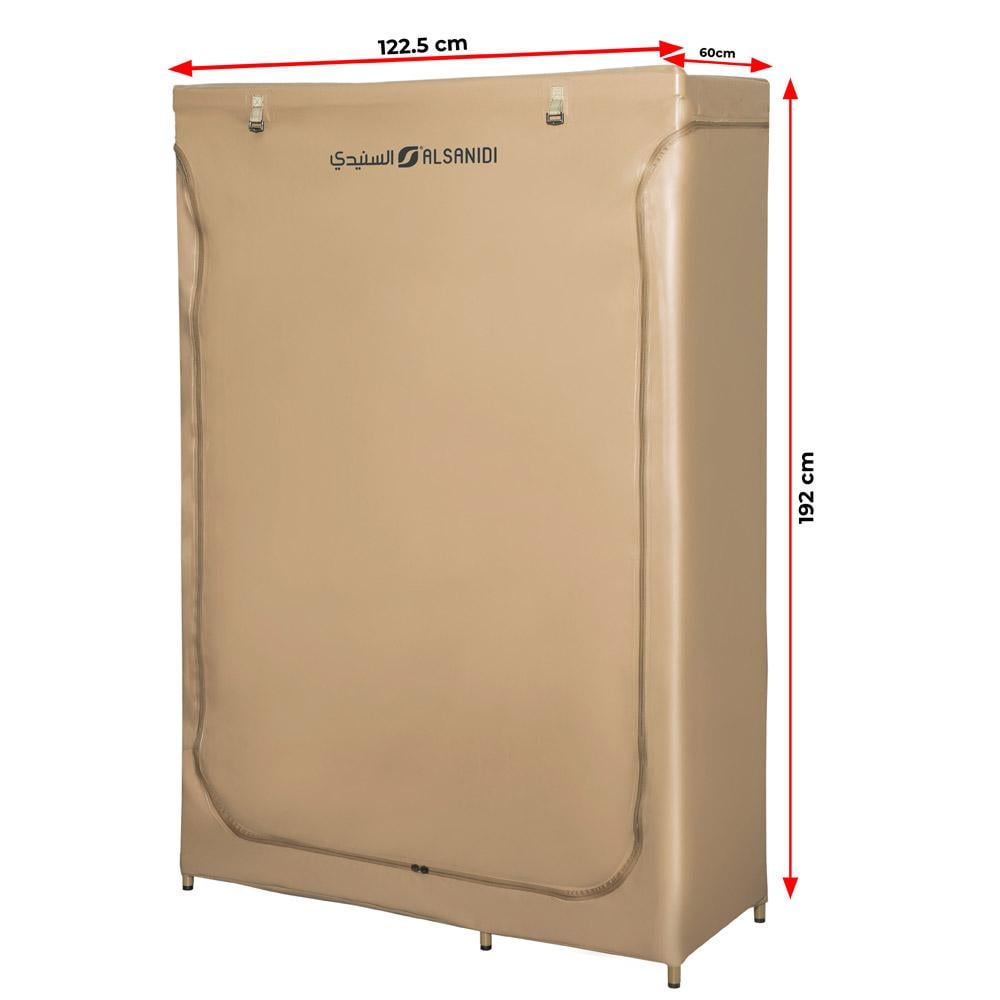
دولاب تخزين عدة البر حديد 060*1.22*1.92م - يتحمّل وزن عالي، سهل التجميع بدون أدوات، يحمي وينظم الأغراض،ضمان سنتان


اضغط هنا للمزيد من ماركة ALSANIDI
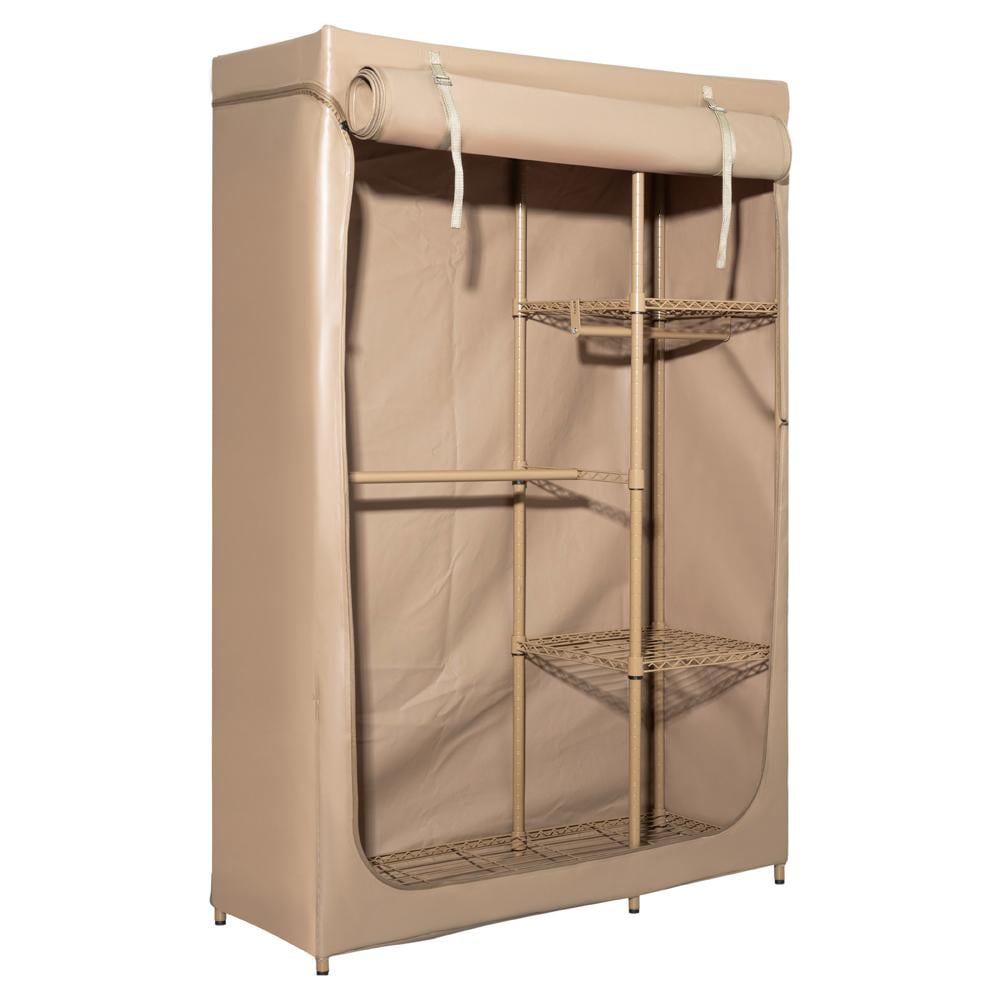
احصل على تنظيم مثالي لمساحتك مع خزانة التخزين PVC من SNN10618PVC—حل عملي ومرن لترتيب الملابس والأحذية والإكسسوارات بسهولة
المواصفات الفنية:
المميزات:
الاستخدامات:
تعليمات التركيب:
افتح الصندوق وتحقق من جميع الأجزاء المرفقة.
ركب قدم التسوية (K) في أسفل القضيبين السفليين (C) وثبت المشابك البلاستيكية (J) على الأعمدة السفلية مع التأكد من اتجاه الأسهم لأعلى.
ثبت الرف ذو الست كولار (A) بوضعه من أعلى الأعمدة إلى المشابك البلاستيكية.
كرر تركيب الرف ذو الأربعة كولار (B) بنفس الطريقة في الموضع المرغوب.
اربط الأعمدة العلوية (D) بالقضبان السفلية باستخدام الموصلات المجمعة.
ثبت قضبان الدعم (E) باستخدام المشابك البلاستيكية ونزلها إلى الموضع المناسب.
ثبت قضبان التعليق الطويلة (H) والقصيرة (G) مع البراغي والأقواس (F) و (I) على الأرفف المخصصة.
أخيرًا، قم بتغطية الهيكل بغطاء PVC المرفق.
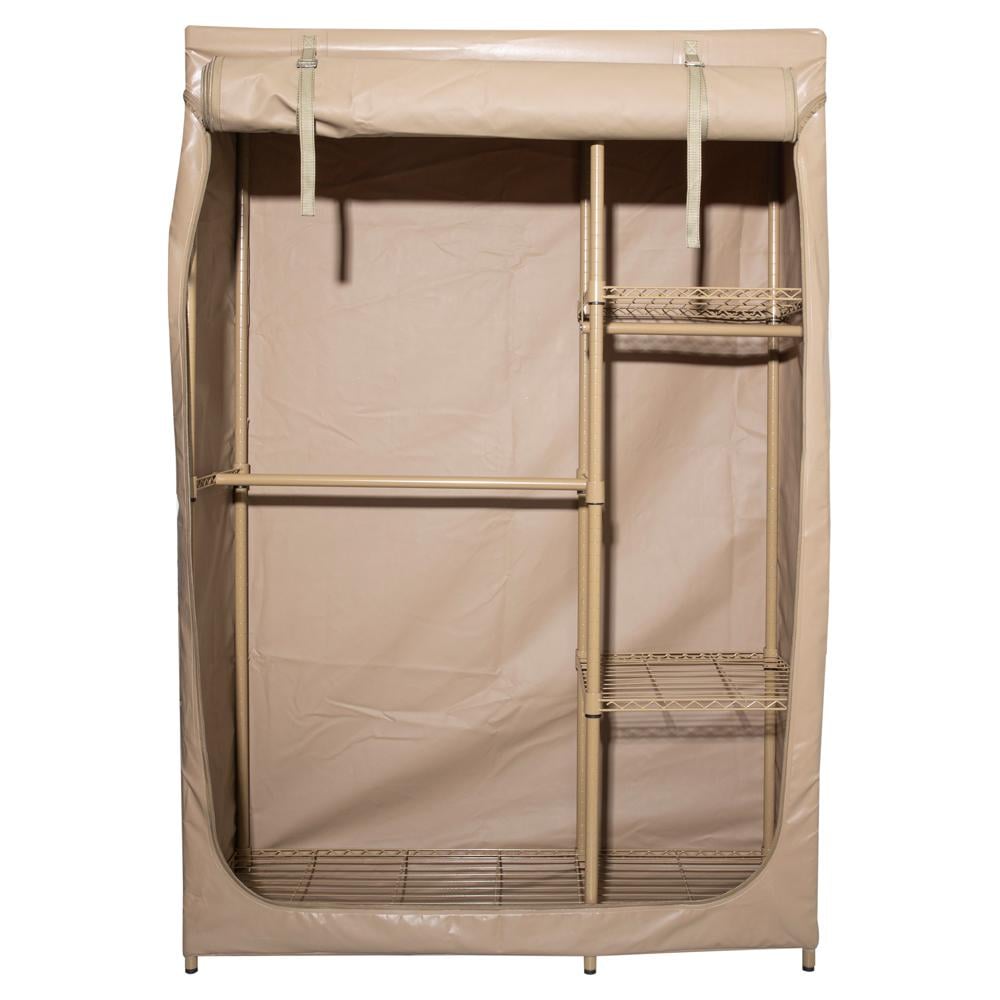
مكونات المنتج:
أرفف كولار مختلفة
قضبان تعليق متعددة الأطوال
مشابك بلاستيكية
قدم تسوية
غطاء PVC
يتميز دولاب البر SN10618PVC بسهولة التجميع والمتانة، ليكون خيارك الأمثل لتنظيم أغراضك في الهواء الطلق بطريقة منظمة وعملية.